Dev Diary: Fashion Forecast

Motivation⌗
With weather in Canada changing rapidly, it became difficult to predict what you need to wear each day. The weather forecast on the news would show fluctuating temperatures, changing rain probabilities, and a metric called “feels like”. The latter of which was almost never accurate. Each morning began with a little mental exercise in trying to interpret this data. Often incorrectly.

Eventually, I had this idea of a web-service that could text you each morning with information on what to wear. I had originally built a version of this application in 2019 with limited functionality. That version of the app would only use a simple control structure to give advice based on very trivial bounds on the weather data. Simply, it would check if the wind, temp, or POP, fell into a particular range. It would then recommend what clothes to wear based on these bounds. Very simple, very limited.
This new version of Fashion Forecast utilizes the industry’s newest toy; Artificial “Intelligence”. Specifically, generative pretrained transformers or GPTs. OpenAI offers a simple completion API utilizing their ChatGPT 4.X model which we use as a way to interpret weather data. Each user is processed sequentially with their weather data for the day, and ChatGPT forms the message that is eventually sent to phone number the user specifies.
Although this has no practical purpose for people unlike myself, it was quite fun to build. I hope you enjoy reading the following; in which I cover some of the major components of the application.
Technologies⌗
The project follows a pretty straightforward M.E.R.N stack. There are a few pieces of external libraries and middleware sprinkled around the Node application.
Front End
- React
- React Router
- React Google Captcha
- MUI/JoyUI
Back End
- NodeJs
- ExpressJs
- Winston
- CORS
- Toad-Scheduler
- Croner
- Twillio
- Mongoose
- Luxon
Functional Overview⌗
Fashion Forecast is a small web-service where people can receive personalized daily texts with advice on how to dress for the weather. A user can specify a city, country, and a time that they would like to receive a text message. The service will then periodically pull weather-data, form a prompt, talk to chatGPT, and send a text to a user.


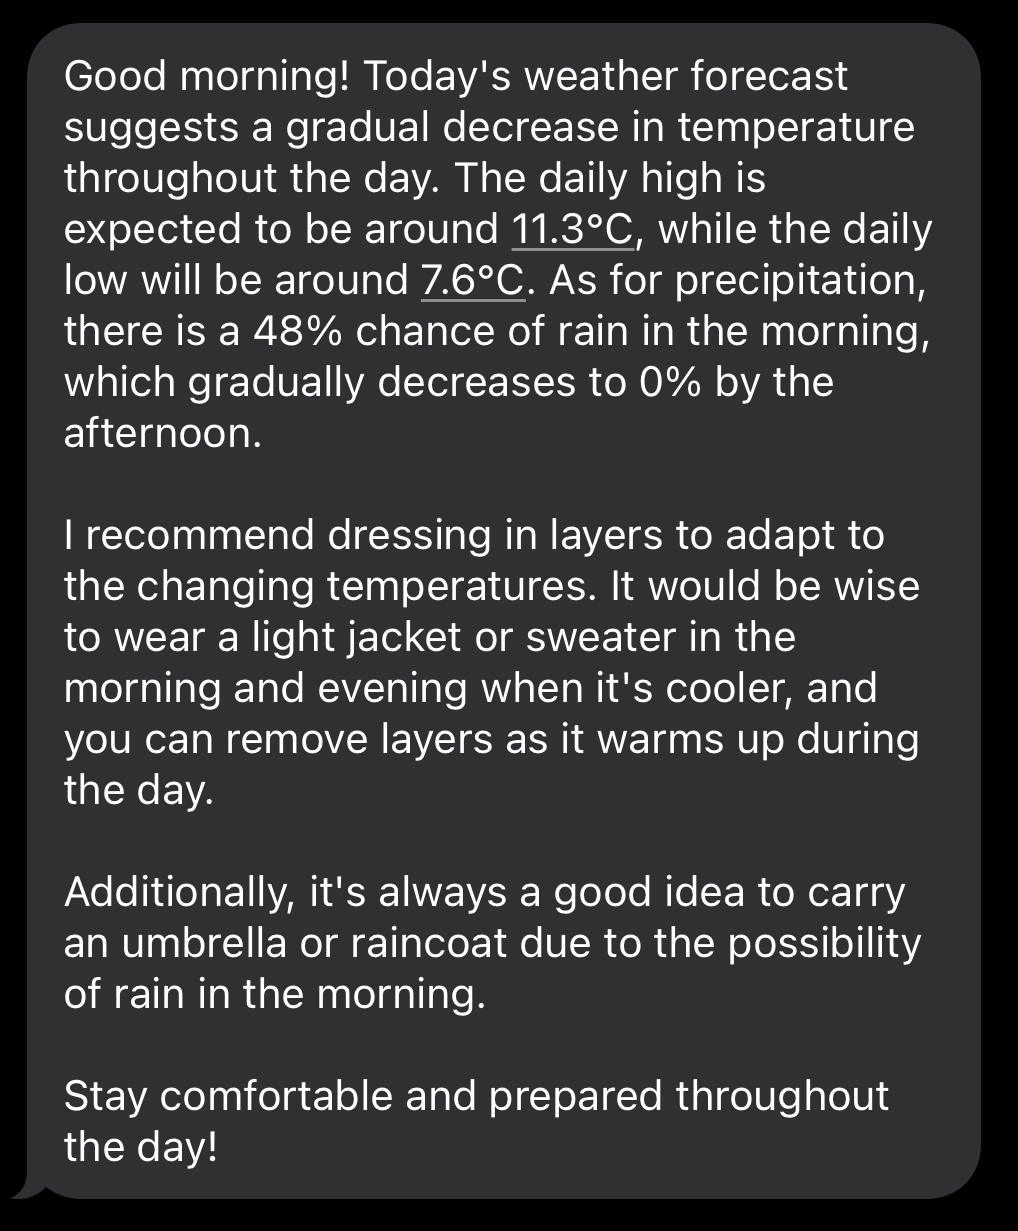
A user will receive a custom text like the one above, everyday at the time they specified. No need to look at charts, POP chances, wind, “feels like”, or any other weather related data in the morning. Just have a weather forecaster tell you what to wear.
Architecture⌗
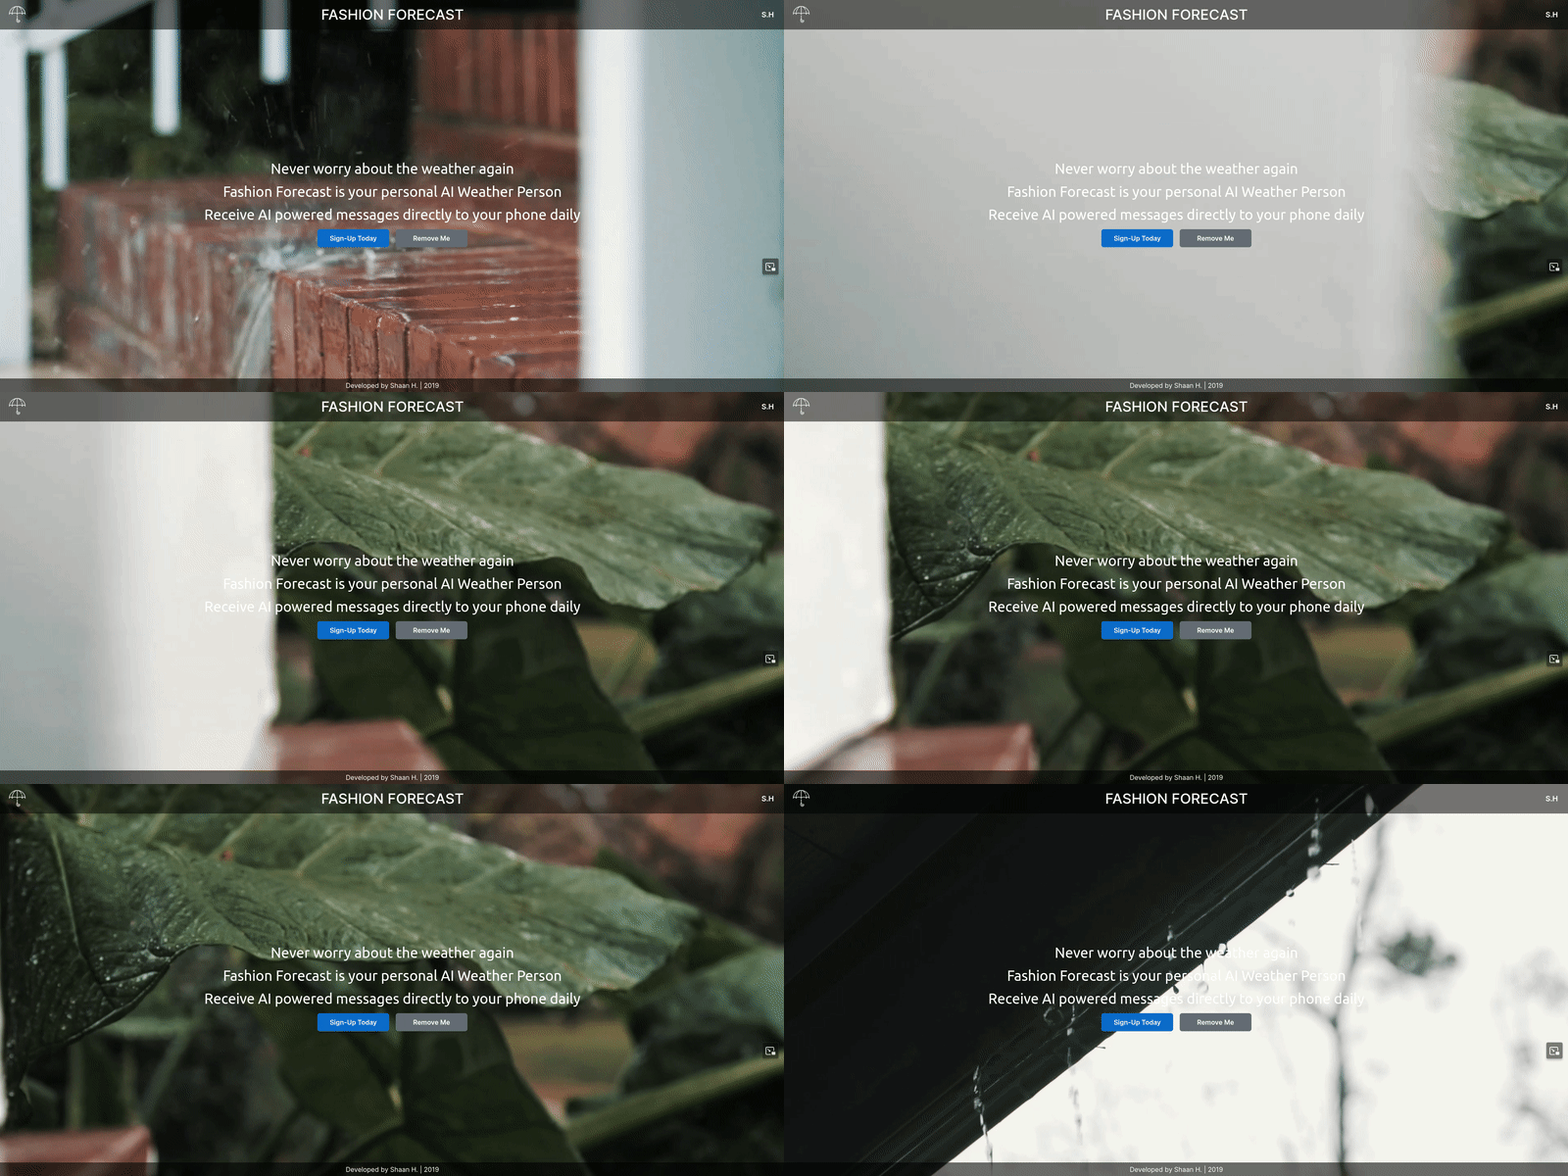
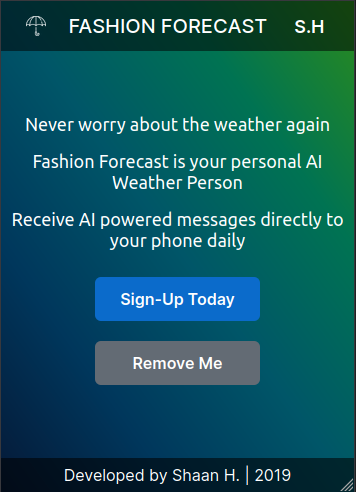
The front-end of Fashion Forecast is built using React and React Router. The root path renders a simple splash page that is controlled by React Router. Whenever a user clicks on one of the two buttons, a form element is rendered using the router. The forms are HTML forms that manage two sets of state. One for the form data. The other for the state of the form. The latter is used to control the status message that is created each time an operation happens on the form.
const SignUpForm = () => {

    const [formData, setFormData] = useState({
        firstName: '',
        phoneNum: '',
        email: '',
        time: '',
        city: '',
        country: '',
        captcha: '',
    })

    const [formState, setFormState] = useState({
        showStatus: 'none',
        statusMessage: '',
    })

    ...
The showStatus and statusMessage variables are altered whenever there is a response from the backend. As such, there is a hidden element in the form structure that has the CSS property display: {showStatus}. Once a response is (or isn’t) received from the backend, the status message is updated and the element is displayed.

As mentioned earlier, the backend follows the MERN stack. We have an express web server running on nodejs with Mongoose as our DB middleware. Ideally, I would not have used a NoSQL document based DB such as MongoDB for this sort of problem. The data I am working with is very structured and simple. However, MongoDB is painless to use and its DSL contains a tonne of helper functions. When things can be simple, why be complicated?
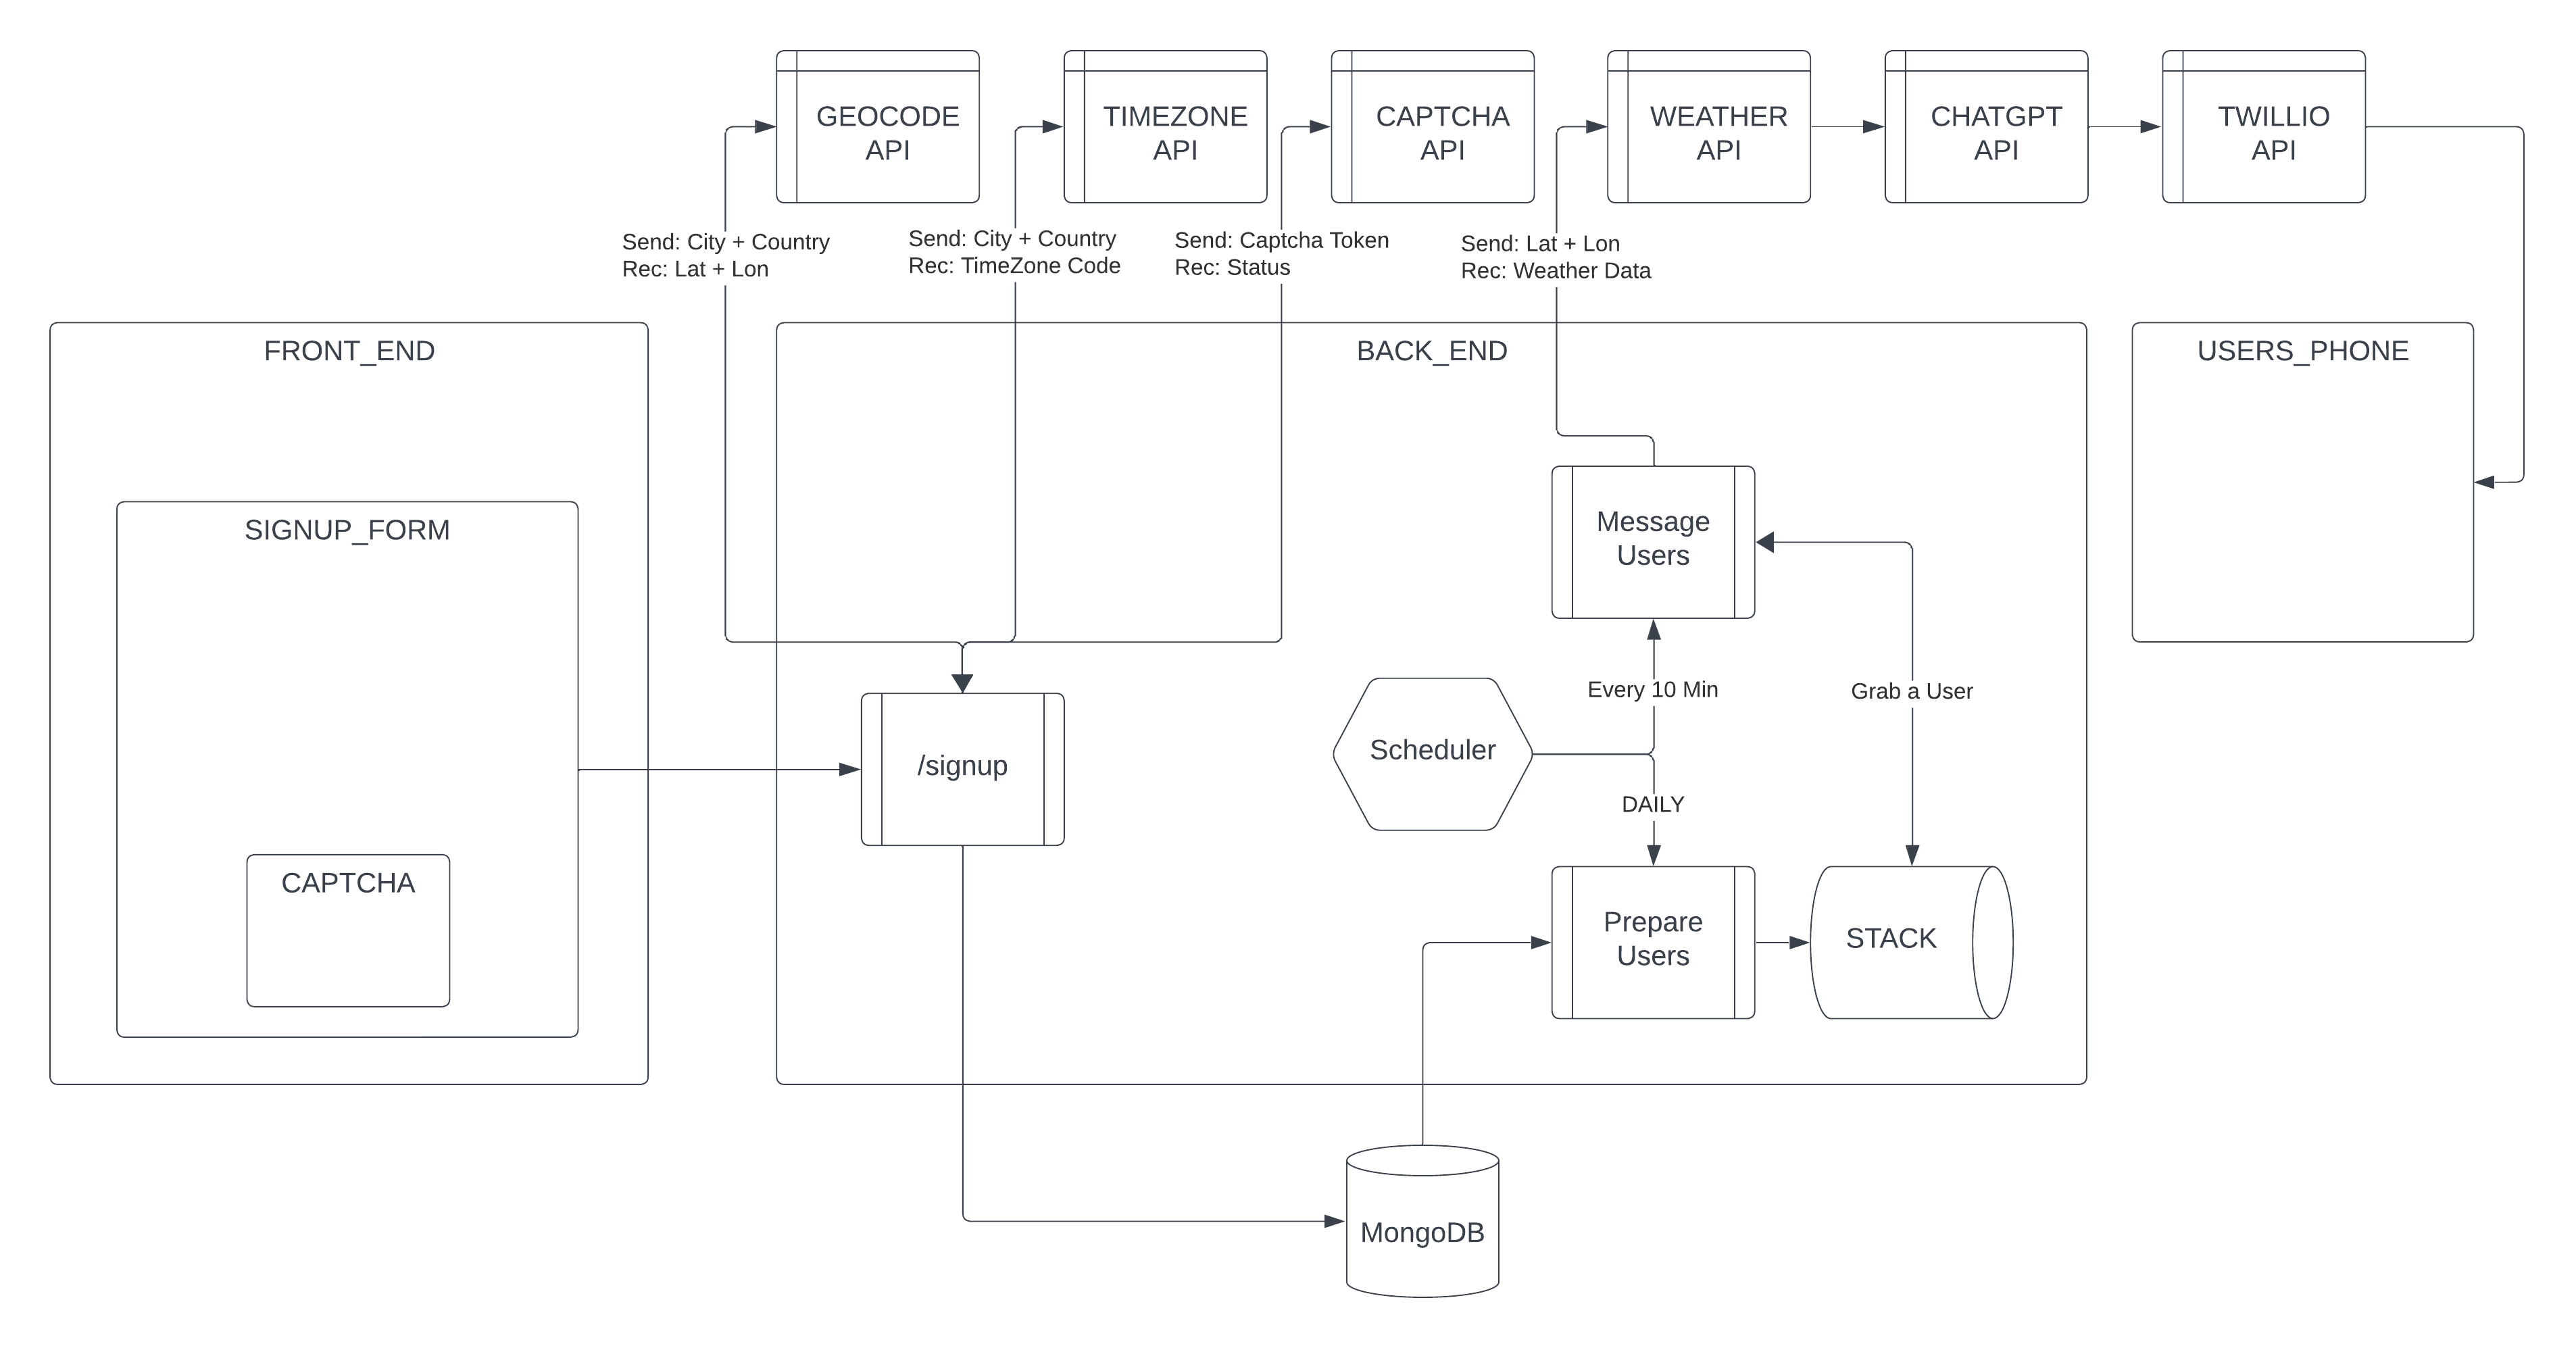
Once the backend captures a sign up request on the /signup endpoint, the data is sanitized and enriched before it is stored. Since we will be using longitude and latitude data for many of our downstream API calls, we should convert the users city and country to lat and long. This is added to the User struct and stored in the database.
With users in our database we can start processing them. I broke this process down into two major tasks that would need to reoccur periodically. The first is the task of brining in all of our Users into memory so we can process them. The second is to periodically check the time and message any users that requested a message. The details around both these jobs are outlined in later sections. These jobs are all managed with the in-memory scheduler, Toad-Scheduler.
Task 1 - Prepare a Queue of Users - Daily⌗
I have a series of users in my database each with a time that they would like a text message. Each time has been normalized to the time of the server:
User requests a 09:00 text and their location is London, Uk -> NORMALIZE BASED ON SERVER TIME -> Server records 04:00 if the server is in EST
The first-step is to pull in all of our users into an in-memory stack. Essentially, some sort of ordered list or array. This function here is called every 24 hours by the scheduler. It then uses the Mongoose data Model object to pull our users from the database and store it into a user_queue data structure.
It then uses a simple sorting function to sort the users based on their requested time-slots from 00:00 to 23:59. Since we have normalized the timezones of every user who signed up, we don’t need to do any time-zone conversions at run-time (of the function).
The list of users is then stored into a simple JS array called user_queue. The queue is then consumed by the second job that contains the messaging logic. Only to be rebuilt the next day when the job re-runs.
/**
 * Queries the DB for all users, sorts them, and updates the queue
 * @async
 * @function prepare_user_stack
 * @returns {null}
 */
const prepare_user_stack = async () => {
    const now = DateTime.now().setZone("America/New_York").toLocaleString(DateTime.TIME_24_SIMPLE)
    console.log(`${now}: Loading daily users`)

    User.find()
    .then(users => {
        users.sort(user_sorter)
        user_queue = users
        console.log(`${user_queue.length} users found for today`)
    })

}
Task 2 - Message Users - Every 10 Minutes⌗
The second step is to message the users we have accumulated and sorted. We do this with the message_users() job. This job is run every 10 minutes. It begins in a similar way to the first job, emitting the current time to stdout. The inner loop checks two key conditions before processing the next user.
- Is the queue empty?
- Did the next person in the queue ask for a message at a time earlier than the current system time?
If both these conditions are met, the user is then processed for messaging.
This solution does have some limitations. Namely, a user could get a text up to 9 minutes late. This could be minimized by lowering the time interval of the job or by using CRON scheduling. However, the most ideal theoretical solution would be to pass the array of time-stamps from the user_queue to some process that is watching the time.
/**
 * Checks the current system time, then messages all users on the stack
 * who wanted a msg since the current system time
 * @async
 * @function message_users
 * @returns {null}
 */
const message_users = async () => {

    // Grab the current system time
    const now = DateTime.now().setZone("America/New_York").toLocaleString(DateTime.TIME_24_SIMPLE)
    console.log(`${now}: Checking for users to message`)


    // loop while the queue isn't empty and ...
    // ... the next person in queue asked for a msg ...
    // ... earlier than the system time
    while (user_queue.length > 0 && user_queue[0].time <= now) {

        console.log("Entered Loop")
        // Grab the next user
        const next_user = user_queue.shift()
        console.log(`Processing user ${next_user.firstName} at ${next_user.phoneNum}`)

        // Grab the weather data for the user
        helper.get_weather(next_user.lat, next_user.lon)
        .then( weather_data => {
            return helper.form_prompt(weather_data)
        })
        .then( prompt => {
            return helper.message_gpt(prompt)
        })
        .then(response => {
            helper.send_text(next_user.phoneNum, response)
        })
    }

}
Processing Each Users⌗
Whenever the message_users() function is called a simple chain of API calls are made. Most of these API calls are wrapped into a set of helper functions that abstract away the nuances of the Fetch API.
Get a User -> Pull Weather Data -> Form a prompt -> Feed ChatGPT Prompt -> Capture response -> Send text
An example of the ChatGPT prompt can be found below:
/**
 * Forms the pre-structured prompt for chat-gpt to consume
 * @function send_text
 * @param {JSON} weather_data The weather data object
 * @returns {string}
 */
const form_prompt = (weather_data) => {

    const prompt = `

    "A" is an array containing the temperature in centigrade every hour. "B" is an array containing the probability of precipitation every hour.

    A = ${weather_data.hourly.temperature_2m}

    B = ${weather_data.hourly.precipitation_probability}

    Pretend you are a weather forecaster giving a single individual advice on what to wear today. Based on the given information, what would you say to that individual?

    You must role play as the weather forecaster. Keep it brief.

    Be specific about the type of clothing to wear.

    Mention the daily high and the daily low temperature.

    `

    return prompt

}
Many of the other steps in the chain are just a series of data enrichment steps that culminate to a finalized string. The string is then sent using the Twillio API to the designated phone number.
Summary⌗
I wanted to see how quickly I could put together a workable web-app with a medium level of complexity. This took me about a week to develop with a large chunk of that time spent designing a front-end. I am not the greatest designer by any means, but I do have a eye for aesthetics - and obsessing over making the front-end look great took more time than I care to admit.
Fashion Forecast will be maintained and scaled as time and money permit. I hope none of you get caught in the rain ever again.
“If you want to see the sunshine, you have to weather the storm” - Frank Lane